How To Cut Cove Molding For Kitchen Cabinets : Moldings & Trim | Showplace Cabinetry - Installing cove molding on a chest of drawers how to and hints.
on
Get link
Facebook
X
Pinterest
Email
Other Apps
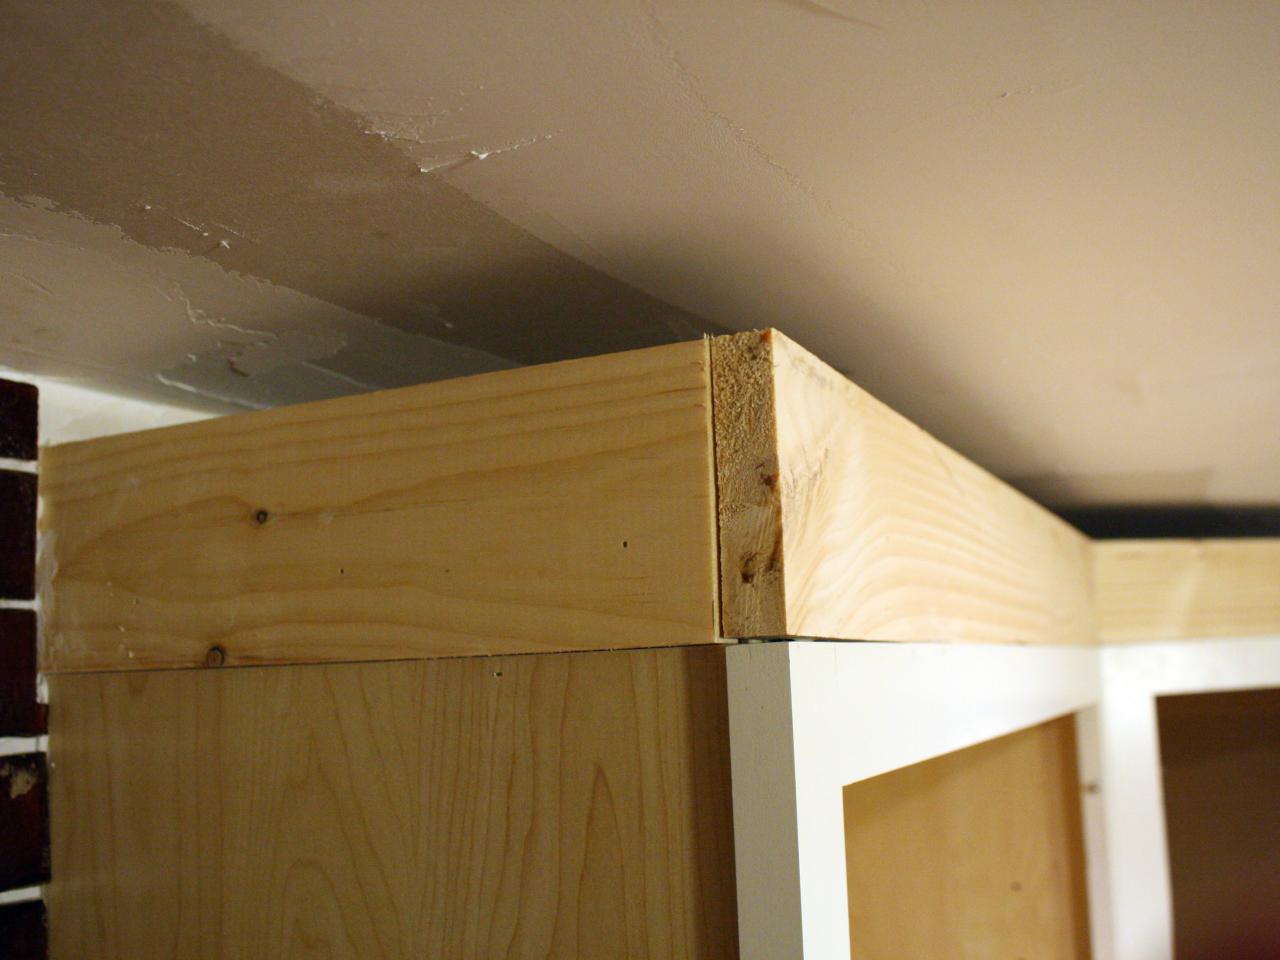
How To Cut Cove Molding For Kitchen Cabinets : Moldings & Trim | Showplace Cabinetry - Installing cove molding on a chest of drawers how to and hints.. Instructions step 1 provide a nailing surface for crown moulding by attaching solid wood mounting strips to the top edges of the cabinets. I had one of those weird angles on my kitchen cabinets and ruined almost a whole 8′ moulding getting it right. This gives you the clean, sharp edge needed on the profile that enables you to cope it with precision. Use a pencil to mark the exact spot that needs to be cut. Lol i finally settled for caulking to get it right.
I could not find any helpful video's for cutting cove moulding so figured i would make my own. Repeat this process with another piece of crown molding. The moldings are mitered at the corners, as the mounting strip should be also. Installing cove molding on a chest of drawers how to and hints. Finish nails at the bottom flat and in the cove of the molding.
Pin on debs from i.pinimg.com Turn the blade to 45 degrees outward. House flipping brothers dave and rich show how to install kitchen cabinet crown molding and trim with tips.this video covers all aspects of cabinet molding i. I feel like an idiot. Hold the molding with one hand and make the cut. Compound method (flat) molding laying with broad back surface down flat on saw table. Measure a piece of crown molding equal to the length of the cabinet. Place the board behind the blade, with the cove edge against the fence. Finish nails at the bottom flat and in the cove of the molding.
Toe kick molding covers the toe space of the cabinets to cover the exposed wood and allows your feet to stand closer to your workspace.
Push the board through the saw, cutting the cove molding off the edge of the board. You must flip the material around to cut both ends of the inside and outside corners. I highly recommend that you make yourself a full set of eight crown molding templates, label them and use them as a guide to prevent cutting your crown molding backwards. The moldings are mitered at the corners, as the mounting strip should be also. Otherwise, divide the angle of your corner by 2 to determine the angle you need to cut your crown molding. I feel like an idiot. If you're cutting templates for crown molding with 45 degree spring angles, substitute these angles on your miter saw. The top of the crown molding is 1 1/8 inch above the top of the rails and stiles of the cabinets. Compound method (flat) molding laying with broad back surface down flat on saw table. If your wall is 90 degrees, set your miter saw to cut at 45 degrees. There are two ways to cut and install scribe molding. Kitchen cabinet molding and trim are sometimes unavoidable for some conditions. The moldings are nailed to the cabinets with 18 ga.
The moldings are mitered at the corners, as the mounting strip should be also. I had one of those weird angles on my kitchen cabinets and ruined almost a whole 8′ moulding getting it right. This is both important for functionality and having a clean design. For most standard corners, this will be 45 degrees. Repeat this process with another piece of crown molding.
Molding Combinations | Kitchen cabinet molding from i.pinimg.com Repeat for each cabinet side. The top edge of the molding (the edge that contacts the ceiling when installed) should be against the saw's fence. You can thus do this on your own or hire a professional. How to cut crown molding: Instructions step 1 provide a nailing surface for crown moulding by attaching solid wood mounting strips to the top edges of the cabinets. Select the type of angle and then slowly cut along the line. Place trim molding on a miter saw in the position it will go when installed. Use a pencil to mark the exact spot that needs to be cut.
You can either use the same wood as the rest of your cabinets or use a color or material that pops against the rest.
Clamp the molding to a tabletop or bench, with the end of the molding extending over the edge. * top of molding doesn't have decorative edge So that's what my template examples are for. And the saw was in the same room. I had one of those weird angles on my kitchen cabinets and ruined almost a whole 8′ moulding getting it right. Coped molding gives the tightest fit, best a. This is both important for functionality and having a clean design. Move the handle on your blade until your indicator matches the desired angle. Diy installing cove molding using backer blocking and corner finials. Kitchen cabinet molding and trim are sometimes unavoidable for some conditions. Set a table saw fence at 3/4 inch. If a gap is less than 1/8 inch, you can measure and cut blunt ends on the trim and install it along the backside of the cabinet, nailing the. There are two ways to cut and install scribe molding.
Place the board behind the blade, with the cove edge against the fence. Repeat this process with another piece of crown molding. Mark the measurement on a piece of trim molding with a pencil. Place trim molding on a miter saw in the position it will go when installed. Instructions step 1 provide a nailing surface for crown moulding by attaching solid wood mounting strips to the top edges of the cabinets.
How to Install Cabinet Crown Molding | how-tos | DIY from diy.sndimg.com Make the longest edge about 3 inches long. Shop tips and safe tool practices covered. Cut crown molding for side of cabinet measure the length of the side pieces. Measure a piece of crown molding equal to the length of the cabinet. Cut inside miters where two cabinets join at 90 degrees. Repeat for each cabinet side. I could not find any helpful video's for cutting cove moulding so figured i would make my own. Clamp the molding to a tabletop or bench, with the end of the molding extending over the edge.
Clamp the molding to a tabletop or bench, with the end of the molding extending over the edge.
Set miter angle to 35.3 Compound method (flat) molding laying with broad back surface down flat on saw table. I feel like an idiot. Cut inside miters where two cabinets join at 90 degrees. I hope this helps.if you want to see more video's like this pl. You must flip the material around to cut both ends of the inside and outside corners. The top of the crown molding is 1 1/8 inch above the top of the rails and stiles of the cabinets. If you're cutting templates for crown molding with 45 degree spring angles, substitute these angles on your miter saw. There are two ways to cut and install scribe molding. Mark the measurement on a piece of trim molding with a pencil. Toe kick molding covers the toe space of the cabinets to cover the exposed wood and allows your feet to stand closer to your workspace. Cut crown molding for kitchen cabinets cutting crown molding for topping kitchen cabinets tends to be easier than cutting it for walls, because, unlike most walls, the square angles on cabinets actually are square. Hold the molding with one hand and make the cut.


Comments
Post a Comment